
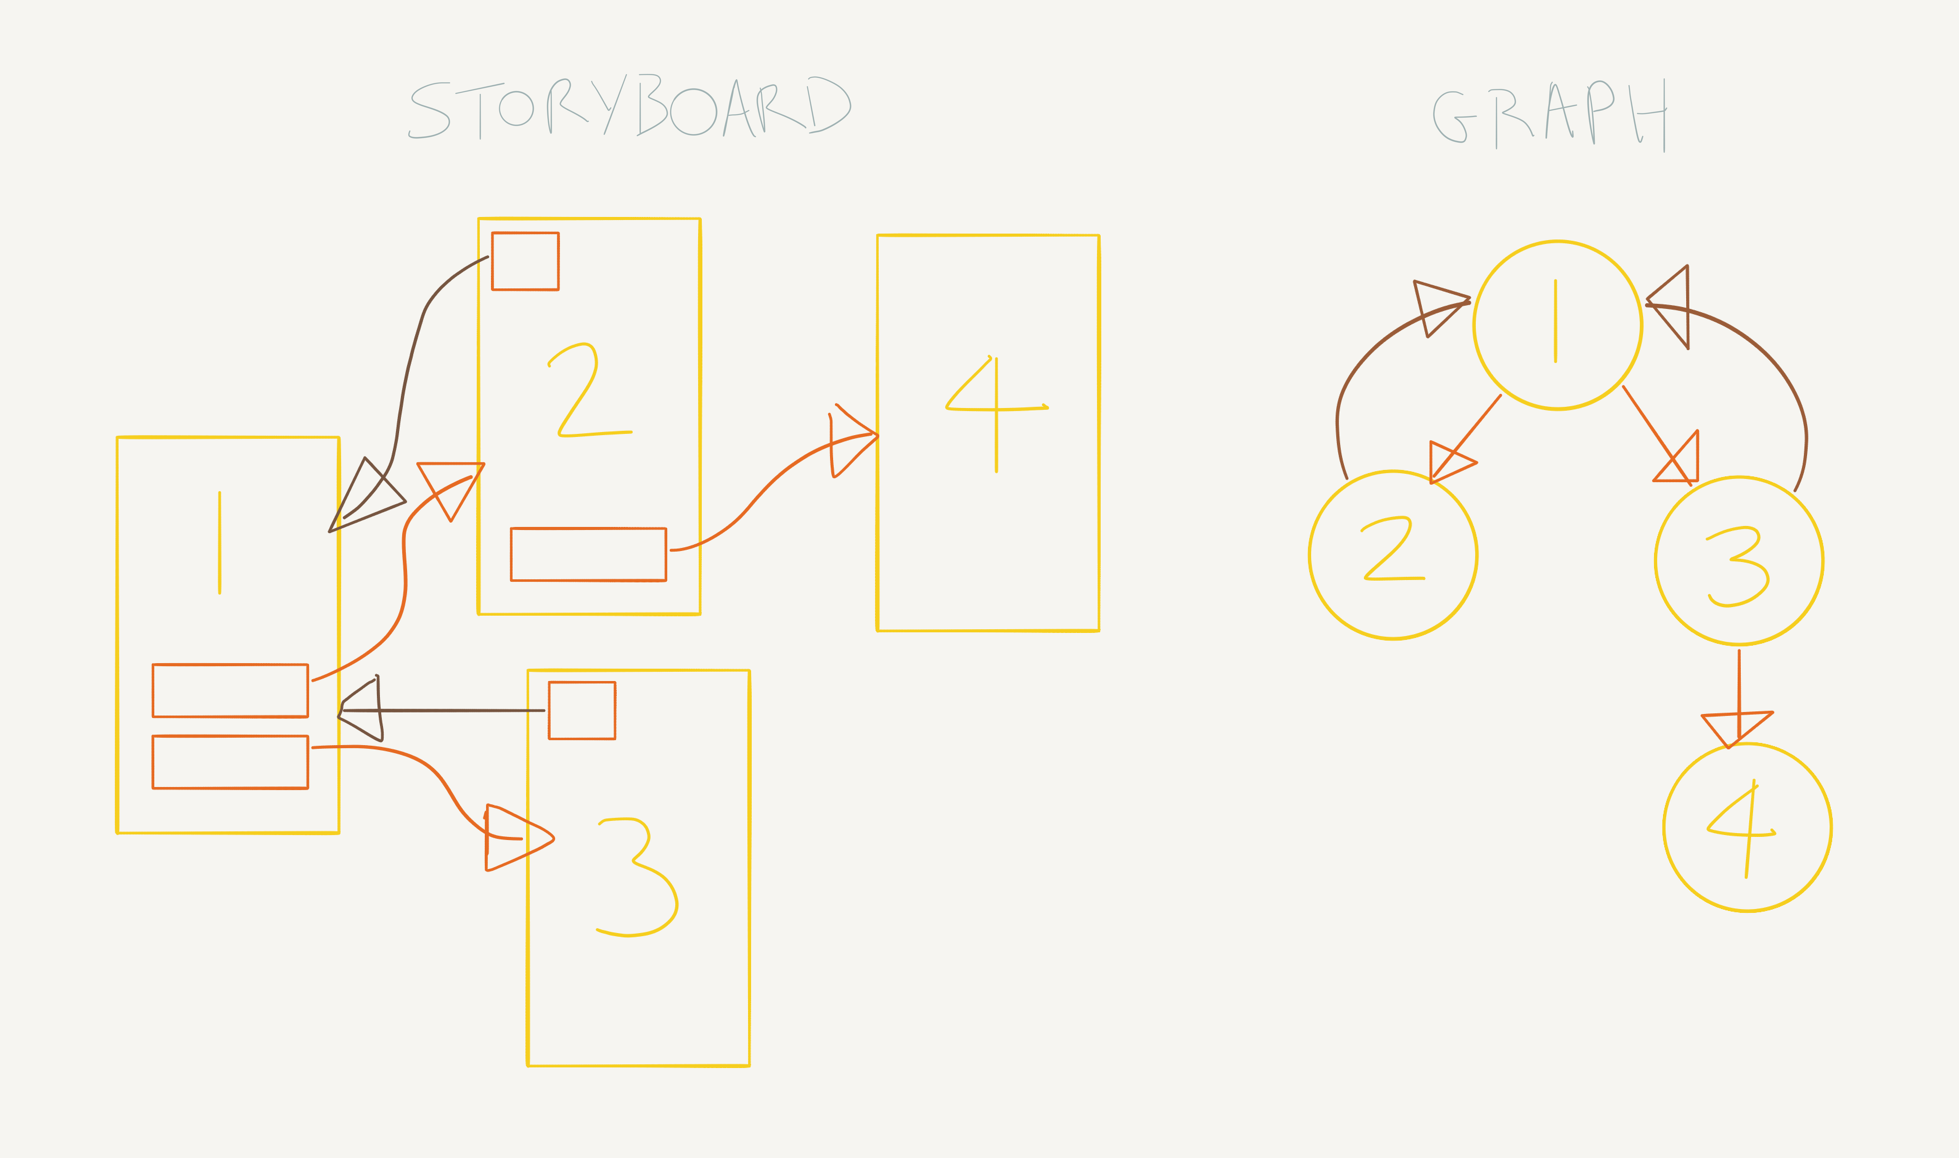
In order to implement the UI storyboarding functionality of Canvas Flow, I required a graph data structure to represent the flow between UI screens.
This post first covers why custom classes are best avoided when dealing with graph structures in Unity, and goes on to present a solution that uses ScriptableObject to create a self-contained asset with sub-objects to represent the graph and its nodes. This solution supports polymorphism of the graph’s data types (nodes, edges, etc.), which was required in Canvas Flow. The result is a contained Graph asset that can be used by scripts just like any other Unity object:

Why To Avoid Custom Classes
Let us define the graph as simply a collection of nodes for now. So with that said, we can focus on the nodes themselves. Custom classes – that is classes that do not derive from a Unity Object – present three key problems for our graph data structure.
Firstly, consider the following custom class definition to represent a node in our graph.
1 2 3 4 5 | [System.Serializable] public class Node { public List<Node> neighbors; } |
Due to the fact that custom classes get serialised inline in Unity, this class will cause an infinite loop in the Editor as the neighbours attempt to serialise their neighbours, and so on. Sure enough, if you add this class to your project, you will see the following warning appear in the console:
Serialization depth limit 7 exceeded at 'Node.neighbors'. There may be an object composition cycle in one or more of your serialized classes.
The Unity serialiser has warned us of our reference cycle and has ejected from the infinite serialisation after processing 7 levels deep – a safety mechanism to prevent the Editor crashing when we specify infinite cycles like this.
Secondly, consider how “serialising inline” affects our object graph. Imagine two Nodes, A and B, as defined above. A has one neighbour, B, whilst B has no neighbours. The object graph before and after serialisation is sketched below.

Before serialisation occurs we have two nodes. However, after deserialisation we have three nodes, including two copies of B: B itself as well as A’s reference to B. Node A has lost its reference to node B and instead now has a copy of B as its neighbour.
And lastly, serialisation of custom classes in Unity does not support polymorphism. So, suppose we create a new node type, SpriteNode, inheriting from our original Node class, like so:
1 2 3 4 5 | [System.Serializable] public class SpriteNode : Node { public Sprite sprite; } |
Taking the same object graph as before, suppose node B is a SpriteNode and, as before, a neighbour of node A. When the Unity serialiser comes to process node A’s neighbours it will see only an array of Node types – and it will serialise it as such. Upon deserialisation therefore, node B will be of type Node, not SpriteNode, and any derived type data, such as our Sprite field, will have been lost.
So, how can we create a Node class that has no serialisation cycles, maintains its neighbour references, and supports polymorphism.
Using Scriptable Object
Unity’s Object class solves these problems for us. When the Unity serialiser encounters an object derived from UnityEngine.Object, it will serialise a reference to the object, not an inline copy of the object. Additionally, because a reference is maintained, so is the referenced object’s type, giving us support for polymorphism.
Unity’s MonoBehaviour and ScriptableObject classes both inherit from UnityEngine.Object and considering that we are creating a custom data type for manipulation in the editor, which we don’t necessarily want to attach to a GameObject in a scene, ScriptableObject is a good fit for our needs.
However, changing our Node class to simply inherit from ScriptableObject is not enough. ScriptableObjects can be saved as assets in the project and must be created in a specific way. Let’s alter our node class to the following:
1 2 3 4 5 6 7 8 9 10 11 12 13 14 15 16 17 18 19 20 21 22 23 24 25 26 27 | public class Node : ScriptableObject { [SerializeField] private List<Node> neighbors; public List<Node> Neighbors { get { if (neighbors == null) { neighbors = new List<Node>(); } return neighbors; } } public static Node Create(string name) { Node node = CreateInstance<Node>(); string path = string.Format("Assets/{0}.asset", name); AssetDatabase.CreateAsset(node, path); return node; } } |
Here we provide a static method to create an instance of our Node, which uses ScriptableObject’s constructor, CreateInstance. In addition, we store the node as an asset in the project using AssetDatabase.CreateAsset. Let’s create the same two-node object graph as before using our new ScriptableObject nodes.
1 2 3 4 5 6 7 8 9 10 11 | public static class CreateNodesExample { [MenuItem("Window/Graph Serialization Example/Create Nodes")] public static void CreateNodes() { Node nodeA = Node.Create("NodeA"); Node nodeB = Node.Create("NodeB"); nodeA.Neighbors.Add(nodeB); } } |
The above code creates a menu item in Unity, which generates the same object graph we had before and again makes B a neighbour of A. This produces two new node assets in the project and this time when observing A’s neighbours in the inspector, we can see we now have an actual reference to node B!

What about polymorphism? Well firstly, let's alter our Node constructor slightly so that we can create an instance of any Node type using generics…
1 2 3 4 5 6 7 8 9 10 | public static T Create<T>(string name) where T : Node { T node = CreateInstance<T>(); string path = string.Format("Assets/{0}.asset", name); AssetDatabase.CreateAsset(node, path); return node; } |
…define a new node subclass…
1 2 3 4 | public class SpriteNode : Node { public Sprite sprite; } |
…and create our nodes using the new generic constructor.
1 2 | Node nodeA = Node.Create<Node>("NodeA"); SpriteNode nodeB = Node.Create<SpriteNode>("NodeB"); |
This again creates our two nodes with A referencing B, but now node B is a SpriteNode with our Sprite field data intact. 👍

So here we have a solution in which we can create nodes for our graph in the editor that maintain their references to one another and support polymorphism, allowing us to have derived node types.
Cleaning Up The Hierarchy
As our graph increases in size, the number of Node assets in the project can become substantial. In addition, if you choose to model edges in your graph as well, you’ll have edges as well as nodes in the project hierarchy. And if you were to use multiple graphs, you’ll need to manage which node assets belong to which graph.
We can make this much cleaner and easier to manage in the project by using Asset sub-objects. As stated in the Unity documentation:
“There is a one-to-many relationship between Assets and Objects: that is, any given Asset file contains one or more Objects.” – https://unity3d.com/learn/tutorials/temas/best-practices/assets-objects-and-serialization
This will allow us to create a single Asset in the project hierarchy and store all of our Node objects inside it. As our Nodes will now be sub-objects, it perhaps makes sense to promote our graph (remember it was simply a collection of nodes), to a ScriptableObject itself to be the container asset. When a node is added to the graph, we can also add it as a sub-object of the graph asset.
1 2 3 4 5 6 7 8 9 10 11 12 13 14 15 16 17 18 19 20 21 22 23 24 25 26 27 28 29 30 31 32 33 34 | public class Graph : ScriptableObject { [SerializeField] private List<Node> nodes; private List<Node> Nodes { get { if (nodes == null) { nodes = new List<Node>(); } return nodes; } } public static Graph Create(string name) { Graph graph = CreateInstance<Graph>(); string path = string.Format("Assets/{0}.asset", name); AssetDatabase.CreateAsset(graph, path); return graph; } public void AddNode(Node node) { Nodes.Add(node); AssetDatabase.AddObjectToAsset(node, this); AssetDatabase.SaveAssets(); } } |
This also means that we no longer want to create a separate asset for each of our nodes, as they will be sub-objects of the Graph asset. So we can remove that line from our Node constructor, like so:
1 2 3 4 5 6 7 | public static T Create<T>(string name) where T : Node { T node = CreateInstance<T>(); node.name = name; return node; } |
Finally, let’s update our menu item to create a graph and see this in action.
1 2 3 4 5 6 7 8 9 10 11 12 13 14 15 16 17 18 | public static class CreateGraphExample { [MenuItem("Window/Graph Serialization Example/Create Graph")] public static void CreateGraph() { // Create graph. Graph graph = Graph.Create("NewGraph"); // Create nodes. Node nodeA = Node.Create<Node>("NodeA"); SpriteNode nodeB = Node.Create<SpriteNode>("NodeB"); nodeA.Neighbors.Add(nodeB); // Add nodes to graph. graph.AddNode(nodeA); graph.AddNode(nodeB); } } |
In the project hierarchy, we can see our new Graph asset with our Node objects neatly contained inside! 😎

This makes it much cleaner and easier to manage in the project. Moving our graph in the project brings its nodes with it automatically, nodes cannot be moved outside of the graph, and the graph’s nodes can still be inspected individually using the fold-out. (As an aside, if you wish you can actually hide the graph’s nodes entirely and show only the Graph asset in the project window. By setting the node’s hideFlags property to HideFlags.HideInHierarchy on creation, the graph will offer no fold out arrow and the Nodes will be hidden inside.)
That concludes this post on graph data structures in Unity. We saw why custom classes are best avoided when dealing with graph structures, as well as how we can use ScriptableObjects to create a self-contained Graph asset that encapsulates its data objects within it.